
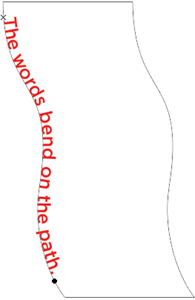
Be creative! Stop using only horizontal or vertical text. Instead, use Photoshop CC to wrap text along a custom shape. This will make it curve along the path to produce an interesting design. Try it!
- Open a new document in Adobe Photoshop CC.
- Select Custom Shape Tool from the Tools panel.

- Choose Path from the Options Bar. Click the Custom Shape arrow on the Options bar.

- Choose a custom shape from the panel. (To see all the custom shapes click the Custom Shape menu picker and select ALL. Click OK)

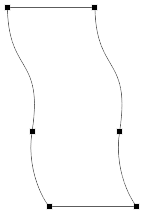
Pick a shape with a simple outline.
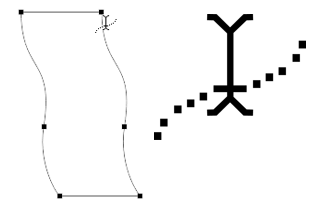
- Click and drag to draw a shape.
- To add text, click the Horizontal Type Tool.
- From the Options bar select a font, style, size, and color of the text. Set the size to 12.

- Move the mouse pointer over the edge of the shape. The pointer changes to an I-beam with a wavy line. Click on the shape border in the spot where you want to start adding text.
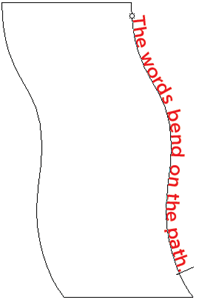
- Type and the text will automatically wrap around the shape.
Change the Direction and Position of Text
- Select the Path Selection Tool from the Tools panel.

- Drag the mouse pointer over the text to move it along the path AWAY from the END POINT.
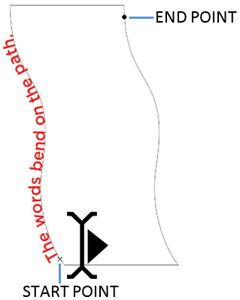
- Drag the mouse pointer ACROSS the path of the shape to flip the text and reverse it.
Make the Text Look Great!

HINTS:
- Format Font: Select the Horizontal Type Tool. Click and drag to select the text. Use the tools on the Options bar to make changes.
- Position Text: Select Path Selection Tool from the Tools Panel. Drag the START and END points to change the location of text.
- Adjust the Size of the Shape Path: Select Move Tool from the Tools Panel. Drag a control point to increase or decrease the shape.
- Grab the Start Point: If you are having trouble moving the text, drag the START point instead of the letters themselves.
Do you like using Photoshop CC? There are many fun and easy activities in TechnoPhotoshop. Lessons include digital worksheets for middle and high school students.