
Photoshop CC has several frames you can lay over top of a photo. By adjusting the layer style of the frame you can create a unique design that enhances the picture. Try it!

- Open a new document in Adobe Photoshop CC.
- Insert a photo of your choice. From the File menu, click Place Embedded. Select the picture and click Place.
- Position the photo on the page. Resize the photo, by clicking and dragging a corner handle.
- When the photo looks like way you like, click the COMMIT tool on the Options bar (it looks like a checkmark).
- Make a new layer. From the Layers panel, click the Create a new layer tool (it looks like a piece of paper at the bottom of the Layers panel).
- Double click the new Layer and rename it Frame. The Frame layer should be at the TOP. If it isn’t, drag it UP in the Layers panel.
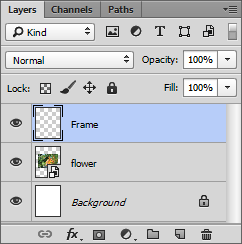
Rename it FRAME.
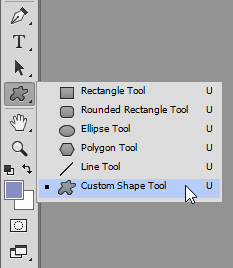
- Select the Frame layer. Click the Custom Shape Tool from the Tools panel.
- From the Options bar, select SHAPE, and then pick a fill color, stroke color, stroke thickness, and stroke style.
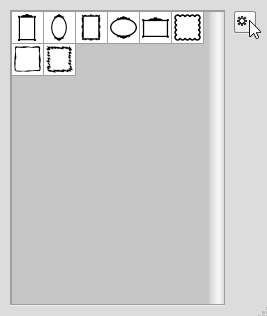
- Click the Custom Shape arrow on the Options bar.

- Click the Custom Shape menu picker (it looks like a gear).
- Select Frames from the list. If you are asked to replace the current shapes, click OK.
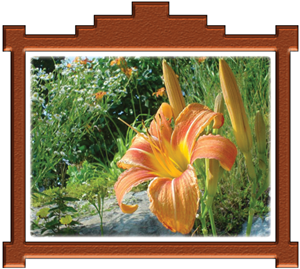
- Click and drag to draw a frame over the picture. Click COMMIT when you like it. TIP: To resize or move the frame, click the Move tool from the Tools panel.
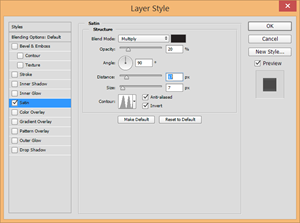
- Make the frame look great by adjusting the Layer Style. From the Layer menu, select Layer Style. Select Satin.
- Experiment with the Blend Mode, Opacity, Angle, Distance, Size, and Contour to create a unique design. To reset it back, click Reset to Default.
- Double click on any Style name on the LEFT side of the dialog box to apply even more layer styles. Here are some ideas:
- Bevel & Emboss – Select Inner Bevel to produce a unique 3D effect. Adjust the Contour and Texture to make the frame look great!
- Outer Glow – Select a Normal Blend Mode and change the opacity to 100%. Pick WHITE. Adjust the Spread and Size to make it look like their is matting inside the frame.
Have fun exploring the Layer Styles to make your frame unique!
There are many ideas for using Photoshop CC in TechnoKids‘ technology project TechnoPhotoshop CC. Have fun photo-editing!