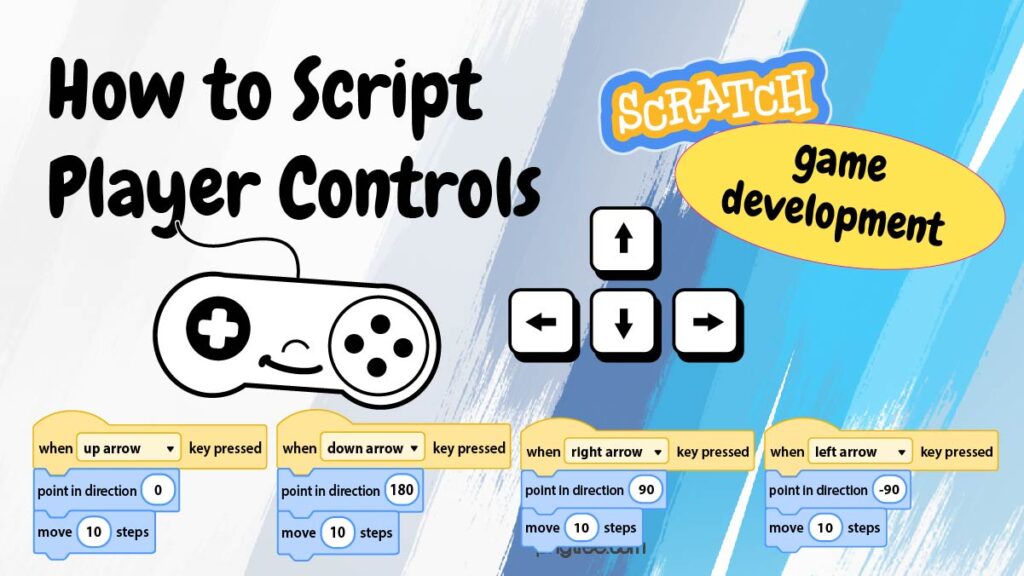
If you are teaching a game development or coding unit, you may want to know how to build player controls in Scratch. The good news is that it is easy to have the player move around the stage using arrow keys. Discover the blocks you will need, sample scripts, and time saving tips.
Why Build a Game with Player Controls?
There are so many things your students can build in Scratch. For example, they can create an animated scene, artwork, or short story. If you decide to build a game, it can take several classes to complete. When allocating that amount of class time, you want students’ to be engaged. You might be wondering…
What will hook student interest in game development?
The answer is to create a game with player controls. Not only will young programmers build coding skills and logical thinking, but they will be highly interested in the task. This is because designing this type of project is enjoyable. Plus, it has an authentic audience. Upon sharing the game, students can watch their friends play their creation and control the action. The real bonus is evident. Kids have fun as they learn essential computer science standards.
Player Controls Using Scratch
With Scratch, programming player controls are easy and logical to make. To start, students must select a sprite to act as the player. The Sprite library has a large and diverse collection of sprites to inspire any imagination. For example, the player can be a wizard, frog, or alien. The next step is to control the movements. Four arrow keys will move the player-sprite up, down, left, and right.
Which Scratch Blocks Do You Need to Build Player Controls?
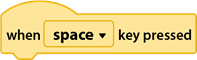
The scripts to build player controls uses only 3 Scratch blocks. That’s it! You need an Event block and two Motion blocks. Look for the following blocks in the Blocks Palette:


How to Build Scripts for Player Controls in Scratch
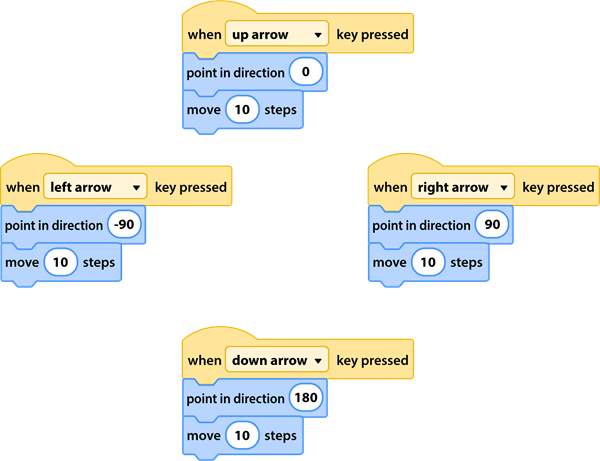
To control the player, students must make four scripts. Each will use a different key: up arrow, down arrow, right arrow, and left arrow. As you can guess, the direction of the arrow is where the player will move.
- Select the player sprite.
- Create the following four scripts for the up, down, right, and left arrow keys.
TIP: Set Game Difficulty Level
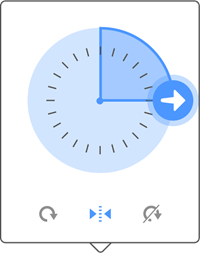
The stage is made up of dots. Each dot is a spot that uses number values to identify its location. There are 480 dots or “steps” from left to right. There are 360 dots or “steps” from top to bottom. Adjust the number in the move steps block to suit the purpose. For example, it is likely 100 steps is too many. But five may be too few.
TIP: Duplicate a Script to Save Time
A fast way to build player controls is to duplicate a script and then change the values. To do this:
- Build the first script.
- Right click the script and select Duplicate.
- Move the copied script in the Code Area so it isn’t blocking anything.
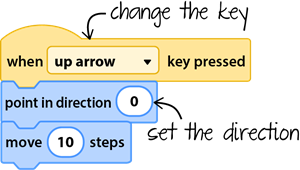
- Change the keyboard key in the Event block.
- Change the degree in the point in direction block.
TIP: Adjust the Rotation Style
By default, a sprite is set to All Around. This means it rotates when the direction changes. This can cause your player to turn upside down or spin sideways. That rotation style might suit your game. However, if it doesn’t you can restrict movement. In the Sprites Pane, change the rotation style to Left/Right.
TIP: Add Instructions
For the friend who is playing a game for the first time, make it user friendly. Add Instructions on the Project Page to explain the player controls, for example: Press the arrow keys to move around.
What Types of Games Use Player Controls?
Almost any Scratch game can be enhanced with player controls. Here are a few game ideas:
- Escape Danger – It is an alien attack! Use the arrow keys to escape. You must reach the potion to fly to safety.
- Rescue Mission – Oh no! Bandits have captured the Prince. Use the arrow keys to reach him before time is up.
- Find Treasure – The mermaid has lost her jewels. Use the arrow keys to collect the treasure.
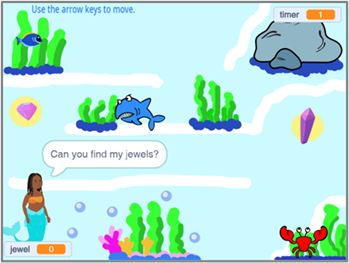
Instructions that explain how to create games such as Escape Danger, Rescue Mission, and Find Treasure are included in TechnoRace. In this Scratch project, students develop a one-of-a-kind race. The player must avoid obstacles while collecting treasure, before a timer runs out.
- Catch Me – It is snowing! Use the arrow keys to catch the snowflakes before they melt.
- Maze – Help the dog get to his ball. Use the arrow keys to follow the path through the maze.
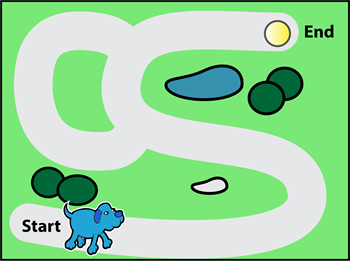
Find lessons to build Catch Me and Maze, as well as many others, in TechnoCode. In this STEM project, students create an activity studio for kids using Scratch. They learn how to develop animated scenes, mazes, interactive stories, and games.