Are you new to the Blender video editing window? Blender is an open-source software used to edit videos, animate objects, and create 3D models. It is free to download and install on Windows and macOS devices, making it ideal for schools interested in teaching video production.
Video editing software is often taught to Film Studies or Media Arts students in high school. However, there are many ways to integrate video production into curriculum in elementary and middle school. For example, students can:
- dramatize a public service announcement
- produce a “how-to” video
- design a music video for an original song
- create an advertisement in the form of a video ad to boost media literacy awareness
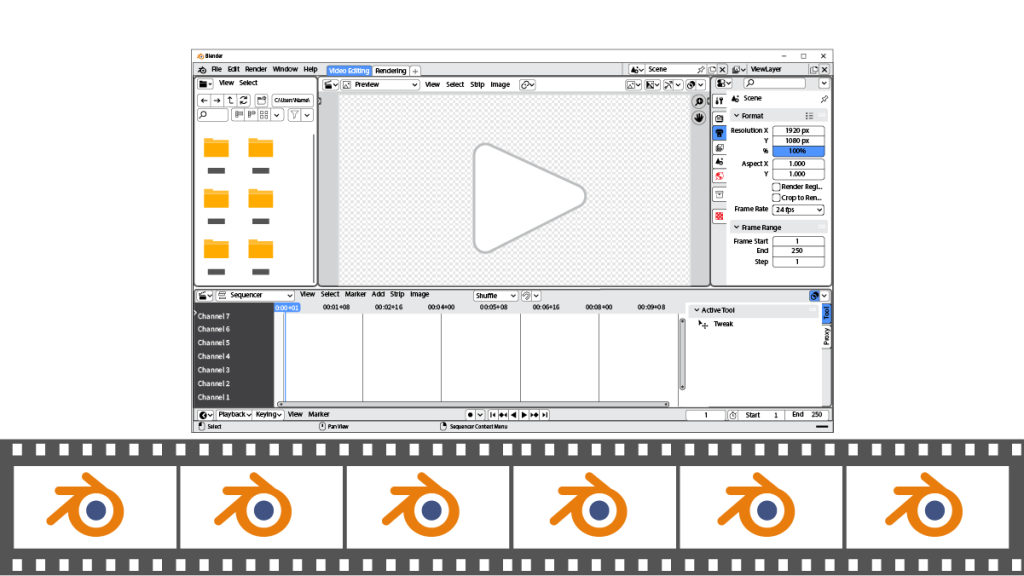
To support beginners, begin a video production unit with an introduction to Blender terminology. Open the Blender program. Then from the File menu, select New. Click Video Editing. You will see the Blender Video Editing window.
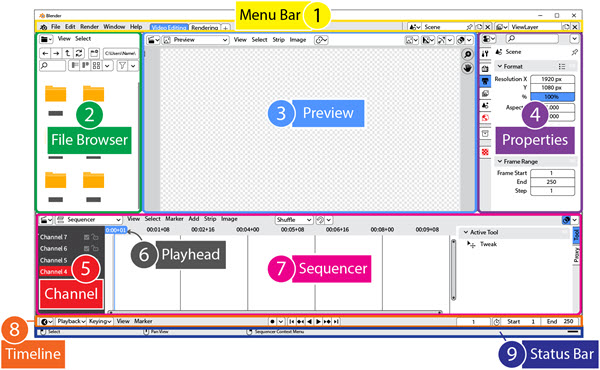
Function of Each Part of the Blender Video Editing Window
1. Menu Bar: Pick from a list of choices including File, Edit, Render, Window, and Help.
2. File Browser: Locate files and folders stored on a device.
3. Preview: Show current frame on a canvas with tools to adjust the view and edit items.
4. Properties: Set file or Blender options such as output or scene settings.
5. Channel: Place items on a track to sequence actions and set the stacking order.
6. Playhead: Select the current frame with a blue vertical bar.
7. Sequencer: Arrange movies, sound, images, text, and effects into channels.
8. Timeline: Control playback of video and set the frame range.
9. Status Bar: Display information such as mouse settings and Blender version.