Discover how to add Word Art into a Google Doc with this free lesson. Instructions in this post, explain how to use a Drawing Canvas to produce eye-catching text. It is fun to customize the colors, border, and typeface to create decorative titles.

This how-to article is from the TechnoKids technology project TechnoEditor. This teaching resource contains fun word processing activities for beginners. In a recent article, One-of-a-Kind Images in Google Docs, we wrote about advanced formatting techniques. But if you missed that post, you should know it included a FREE WORD PROCESSING LESSON: TechnoEditor: Assignment 9. The lesson has step-by-step instructions explaining how to group images, adjust object order, and apply text wrap.
And…here is ANOTHER FREE WORD PROCESSING LESSON. Keep reading to learn about Word Art in Google Docs. Please note, you can download a Google Docs Word Art Lesson using the button at the end of this article.
Word Art in Google Docs
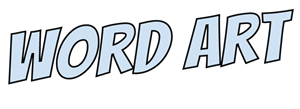
Word Art is text that is transformed into a shape. The letters can be outlined and filled with color to look like ‘art’. The design possibilities are limited only by your creativity.
At first, when using Google Docs, you might be disappointed because there is not a Word Art tool on the toolbar. There is also not an option on the Insert menu. You may conclude this feature is not available…
BUT IT IS! The Word Art option is just hidden.
By inserting a Drawing Canvas into a Google Docs document, an additional set of tools become available. And the good news is Word Art is among them. HINT: You can find it on the Actions menu.
How to Add WordArt into Google Docs
- Open a document in Google Docs.
- From the Insert menu select Drawing. Choose New.
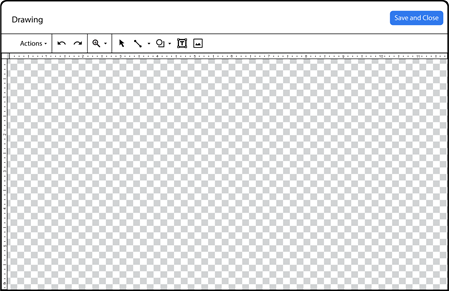
- A Drawing pane will open. You will see a checkered background. It is see-through and will now show:
- Click Actions and pick Word art.
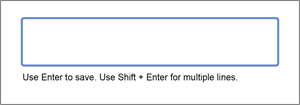
- Type text into the box. Press ENTER.
- Resize and rotate the Word art using the handles.

- Select the Word art. Click the Font arrow. Pick one you like.
- Fill letters with a gradient:
- Click Fill color, then select Gradient.
- Pick a gradient in the palette to change the color of the letters.
- OR click Custom and explore the options to create your own gradient.
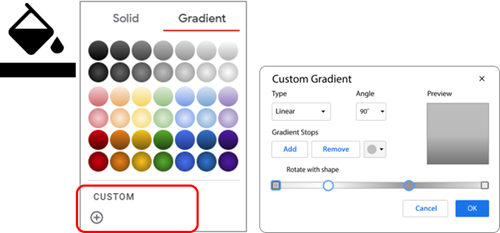
- Get creative! Add a border color or format the line weight or dash style. For example:

- When done, click Save and Close. Now the Word Art is an image in your Google Docs document. TIP: If you want to make changes just click Edit.
Tools to Format Word Art
When you insert Word Art onto a Drawing Canvas a new set of tools appear on the toolbar:
Fill Color: Fill letters with a solid color or gradient. You can create a custom gradient by setting the type (linear, radial), angle, and stop points.

Border Color: Outline letters with a color. You can apply a custom color using a hex code. Or drag the Hue slider and Color Selector to pick an option.

Border Weight: Set the border thickness. Pick a size from a drop-down menu. 1 pt is very thin and 24 pt is very thick.

Border Dash: Apply a style to the border around the letters. The outline can be solid, dotted, or dashed.

Font: Set the typeface of the letters. Pick from a menu of choices or search a gallery to select even more fonts.

Bold: Apply a bold style. This thickens or emboldens the letters, making them stand out.
Italic: Apply an italic style. This slants letters to the right.
Get a Free Word Processing Lesson
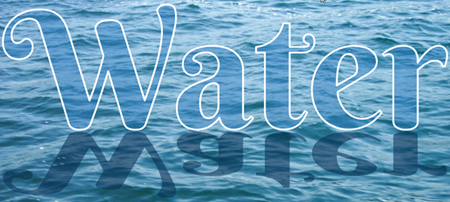
TechnoEditor, TechnoKids’ most recent release, is a project in which students explore text, graphic, and page layout techniques. The Student Workbook includes an extension activity that gives students tips on how to add Word Art, and then apply special effects. Download the free word processing lesson to try the following fun tricks – add a shadow or create a reflection.


If your students enjoy this activity, check out the complete TechnoEditor project. As students edit a storybook for children, they master essential technology skills. On completion, the storybook is shared with younger students. The result is a meaningful, real world activity that builds both skill and confidence.
Watch the video to learn more.
